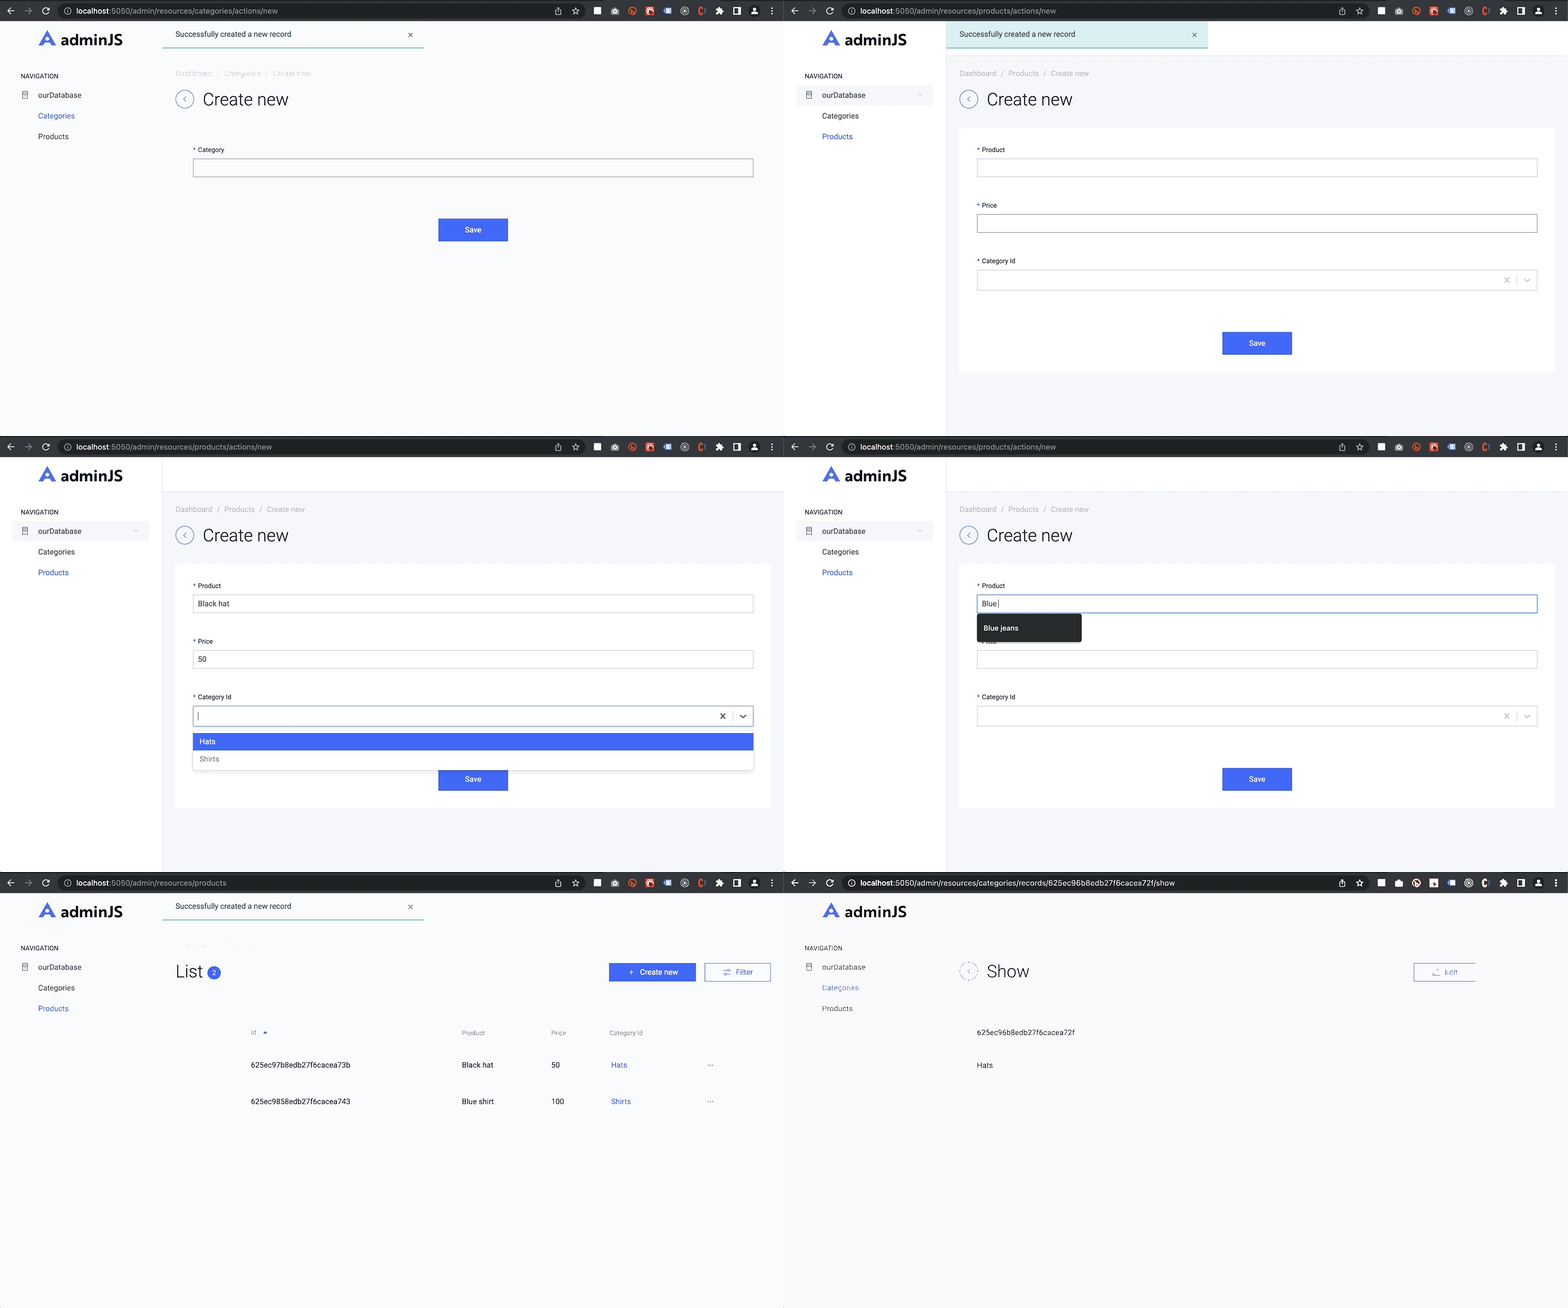
There is a way to set up an admin area and start working with your data in five minutes without actually building all the admin routes and controllers. Here is how...
All we need to have is models and then we can use the AdminBro package to run the fully working dashboard based on nothing but our models.
First we need to set up the express server.
mkdir server
cd server
npm init
Let's install express and Admin Bro packages:
npm i @adminjs/express @adminjs/mongoose adminjs express mongoose
Now we need to create a folder for the models
mkdir models
And files for the models, let's say we will make a model for the products and categories
touch models/products.js models/categories.js
Let's define schema for the product in models/products.js:
const mongoose = require('mongoose');
const Schema = mongoose.Schema;

const productsSchema = new Schema({
  product: {
    type: String,
    required: true,
    unique: true
  },
  price: {
    type: Number,
    required: true
  },
  categoryId: {
    type: Schema.Types.ObjectId, ref: 'categories',
    required: true
  },
});

module.exports = mongoose.model('products', productsSchema);
and for the categories inside models/categories.js:
const mongoose = require('mongoose');
const Schema = mongoose.Schema;

const categoriesSchema = new Schema({
    category: {
        type: String,
        required: true,
        unique: true
    }
},
{strictQuery: false}
)
module.exports =  mongoose.model('categories', categoriesSchema);
Now let's make the main server file index.js inside our server folder:
touch index.js
and add this basic barebone code into it:
// GENERAL CONFIG
const app = require('express')();
const port = process.env.PORT || 5050;

// CONNECTING TO DB
const mongoose = require('mongoose');
(async function () {
  try {
    await mongoose.connect('mongodb://127.0.0.1/ourDatabase');
    console.log('Your DB is running');
  } catch (error) {
    console.log('your DB is not running. Start it up!');
  }
})();

app.listen(port, () => console.log(`🚀 Server running on port ${port} 🚀`));
Now we can run our server with nodemon and see that it is up and running, connected to the local mongo database.
Now the final step -- we need to import our models and the Admin Bro will do the rest.
Add this into your index.js file after connecting to the db:
// ADMIN BRO
const AdminJS = require('adminjs');
const AdminJSExpress = require('@adminjs/express')
// We have to tell AdminJS that we will manage mongoose resources with it
AdminJS.registerAdapter(require('@adminjs/mongoose'));
// Import all the project's models
const Categories = require('./models/categories'); // replace this for your model
const Products = require('./models/products'); // replace this for your model
// Pass configuration settings  and models to AdminJS
const adminJS = new AdminJS({
  resources: [Categories, Products],
  rootPath: '/admin'
});
// Build and use a router which will handle all AdminJS routes
const router = AdminJSExpress.buildRouter(adminJS);
app.use(adminJS.options.rootPath, router);
// END ADMIN BRO
As you can see after importing Admin Bro we require our models:
const Categories = require('./models/categories'); // replace this for your model
const Products = require('./models/products'); // replace this for your model
and then passing them (Categories and Products) in this example into Admin Bro):
const adminJS = new AdminJS({
  resources: [Categories, Products],
  rootPath: '/admin'
});
plus setting the path for the dashboard in rootPath: '/admin'
Now if we will open our server at the designated port (5050 in this example) and go to the admin url (/admin) in this example we will see the glorious dashboard ready to be used with our data.
